Tonight's dinner idea came from Rick Rodgers, The Carefree Cook. I had bought some pork side ribs on sale and wanted to BBQ or slow-cook them, but I couldn't find anything interesting to me in my collection of cookbooks (and it hasn't been BBQ-ing weather). But I did find this oven-roasted recipe in one of my books, and today was finally the day I had some time to make it. The recipe recommends serving these ribs with polenta and sauteed green beans, so that is exactly what I did. My daughter took a nice hour and half long nap, which gave me plenty of time to do most of the prepping and cooking. And my hubby pulled into the driveway as I was finishing the final touches and bringing everything to the table. All three of us enjoyed our dinner; my daughter loved the polenta and ribs - she made a mess trying to feed herself!
Tuscan Roasted Ribs
Ingredients:
4 garlic cloves
1 tsp salt, divided
1.5 tsp dried basil
1.5 tsp dried oregano
1.5 tsp dried rosemary
1.5 tsp dried sage
3/4 tsp black pepper
2 tbsp extra-virgin olive oil
approx. 5lbs ribs
3/4 cup dry white wine (I used red wine)
Directions:
1. Position a rack in the center of the oven and preheat to 350F.
2. Crush the garlic and coarsely chop. Sprinkle 1/2 tsp salt and mix together in a mortar and pestle until it forms a paste. Scrape into a bowl and add the basil, oregano, rosemary, sage, pepper, and the remaining salt. Stir in the oil to make a paste.
3. Rub the herb paste all over the ribs. Place the ribs in a very large roasting pan (It's okay if they overlap slightly. They just curved around my pan and fit perfectly!) Roast, basting occasionally with the juices in the pan, for 1 hour. Turn the ribs and continue baking and basting until they are browned and tender, about 1 more hour. Transfer to a cutting board and let stand while you make the sauce.
4. Tilt the pan and spoon off the fat, leaving the dark juices in the pan. Place on two burners over high heat and heat until the pan is sizzling. Add the wine and use a flat wooden spoon to scrape up the browned bits in the pan. Cool until the wine is slightly reduced, about 2 minutes. Pour the sauce into a small bowl.
5. Cut the ribs between the bones and place on a serving platter. Serve immediately, topping each serving with a spoonful of the sauce.
I didn't care much for the sauce. I don't know if it was the red wine or that I didn't cook it long enough (I cooked it for almost 5 minutes), but the wine flavour was very strong. I must have also left some fat because my sauce separated and really didn't do much to the flavour of the ribs. The ribs tasted amazing though all on their own.
Pan-Fried Herbed Polenta
Ingredients:
1 tbsp extra-virgin olive oil
1 medium onion, chopped
2 garlic cloves, minced
2 cups chicken broth
2 tsp salt
1 cup cornmeal (coarser gives better texture)
2 tsp dried basil
2 tbsp butter
Directions:
1. Heat the oil in a medium heavy-bottomed saucepan over medium heat. Add the onion and cook, stirring often, until softened, about 3 minutes. Add the garlic and cook until it gives off its aroma, about 1 minute.
2. Add the chicken broth, 2 cups water and salt and bring to a boil over medium-high heat. Stirring constantly, gradually add the cornmeal. Reduce the heat to medium-low and simmer, stirring very frequently. Add the basil. Continue stirring and cooking, about 15 minutes, until the polenta pulls away from the sides of the pan and it is tender. Stir in the butter.
3. Spread the hot polenta in a greased 8" square pan. Let cool completely. Cut into 9 squares. Heat 2 tbsp olive oil in a non-stick skillet over medium-high heat. Add the polenta squares and cool, turning once, until golden brown on both sides, about 5 minutes.
I'm used to eating soft polenta with a hearty tomato sauce/stew over top. My grandparents would pour the polenta over a wooden board over the kitchen table and we would all cut off our portion, add the sauce and eat away. This recipe is very different from what I'm used too. I know my husband doesn't really like polenta that way (or at all). so I thought he'd like it better cooked this way. Plus I could cook it in advance while the baby was sleeping, let it cool and harden and then quickly fry it up right before everything was ready. The verdict: he still doesn't care much for polenta. I enjoyed it, but missed the sauce I'm used to. My daughter simply loved it!
Garlicky Sauteed Green Beans
Ingredients:
1 pound green beans, stem ends snapped off and beans cut in half
1 tbsp olive oil
salt and black pepper
1 tsp dried thyme
1/4 cup water
3 garlic cloves, minced
1 tbsp butter
Directions:
1. In a skillet, heat oil over medium heat. Add beans plus salt and pepper and thyme. Toss to coat and cook, stirring occasionally, for 4-8 minutes, or until beans are spotty brown.
2. Add 1/4 cup water, cover and cook for 2-3 minutes. Remove lid and cook until the remaining water has evaporated, about another minute. Add garlic and toss, cooking for another minute. Add butter, toss and cook for another 2-3 minutes, until the beans are crisp-tender.
These beans tasted so yummy! They were a little to crispy for my little one, or maybe too garlicky - she just spit out the pieces. But hubby and I devoured them.
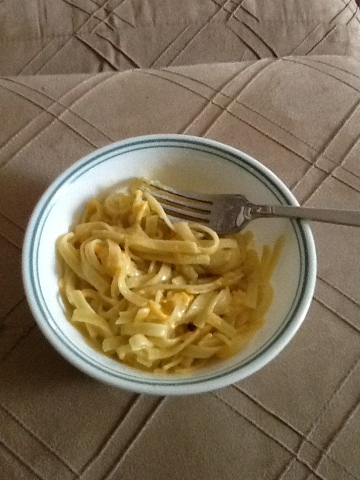
And of course I forgot to take a picture of my beautiful dinner setting, so tomorrow I will try and remember to take a picture of the leftovers (sans green beans!).
 |
| Some picture I found online. |


 4. When all the batter is cooked, place a crepe, one at a time back into the pan and fill with the filling (below). Fold in half (or thirds) and briefly heat through.
 5. Dust with icing sugar and garnish with whipped cream or syrup and serve.
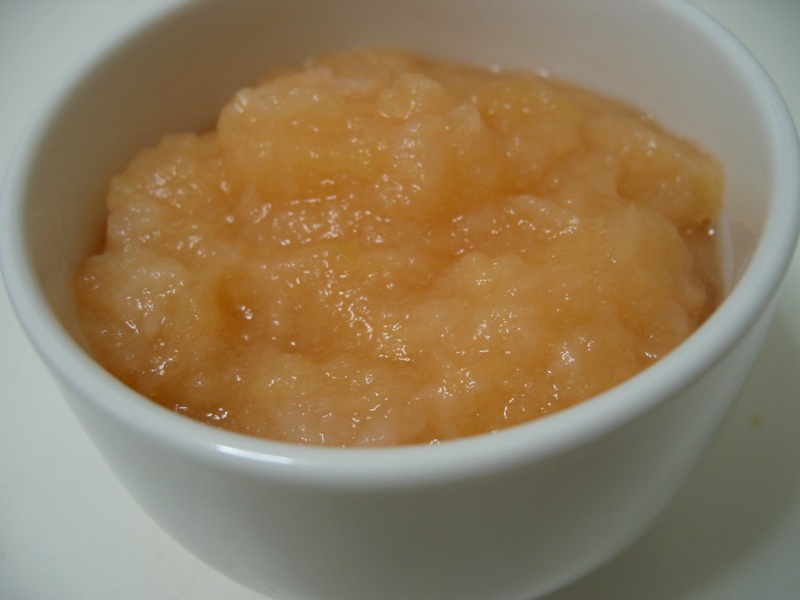
 5 apples, peeled, cored and thinly sliced.